Quinn Studios 8 & 9 Technology Guide
The Studios provide technology-enabled conference facilities for student teams to collaborate. The use of the studio is restricted to academic and research purposes only.
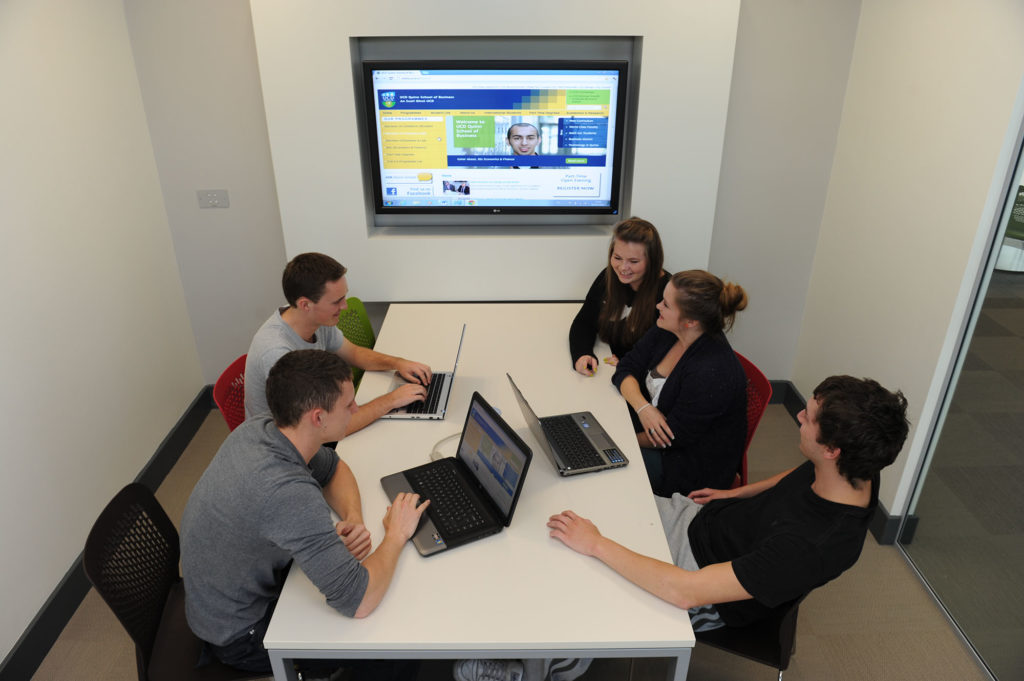
Using the Plasma TV
Using the Plasma TV
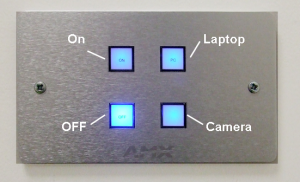
- The LG Plasma TV is controlled by a Panel mounted on the wall to side of the display. Please note that the TVs have no sound .
- The ON/OFF buttons controls the power.
- The Laptop button changes the input of the display screen.
Wireless screen sharing with your Laptop or mobile device
Wireless screen sharing with your Laptop or mobile device
- In order to use the wireless projection function in Studio 8 or 9, you first need to connect to the eduroam network.
- For details on connecting a Window 10 laptop, click here
- For details on connecting an apple laptop (macbook), click here
- For details on connecting an iOS device (ipad), click here
- For details on connecting an Android Smartphone (Samsung Galaxy A3) click here
- A quick guide detailing the process can be found here
Connecting using your Laptop
Connecting using your Laptop
- You will need to select button ‘A’ from the wall panel,
- If you don’t see the Coalesce Blackbox welcome screen, wait for about 5 seconds and press button ‘A’ again
- Ensure your laptop or device is connected to the eduroam Wi-Fi network
- If you are using your laptop, type the URL that you see on screen into your browser address bar
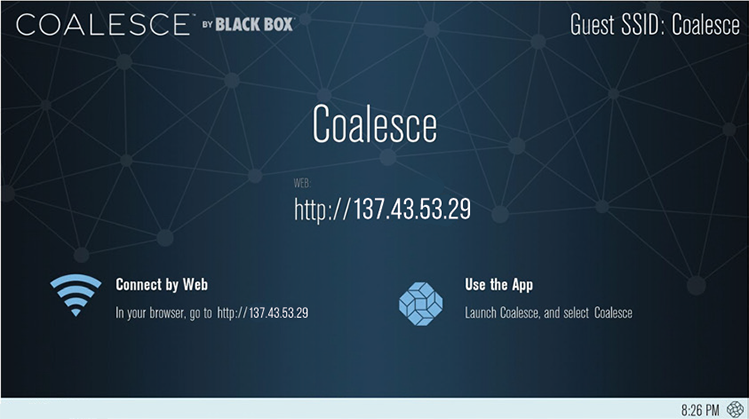
- Click Connect to download the Coalesce client

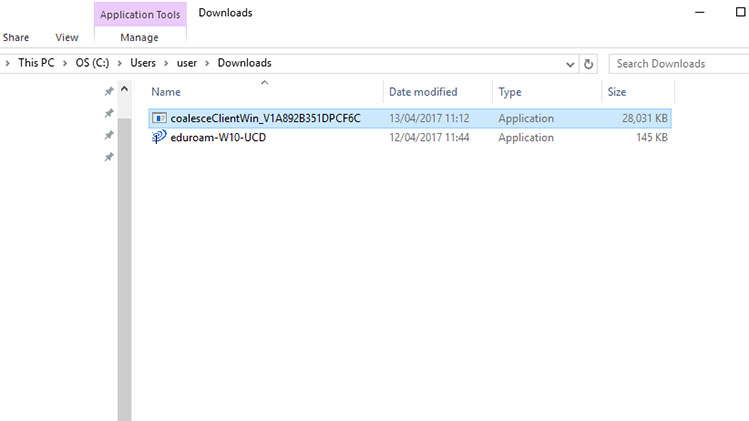
- The setup file will normally be saved in your Downloads folder, locate and launch the file
- You will only need to do this step once, the installation process will install a Coalesce icon on your desktop.
- In future, click the Coalesce desktop icon in any studio once installed
- Enter your name or a name for your device
- Click Continue
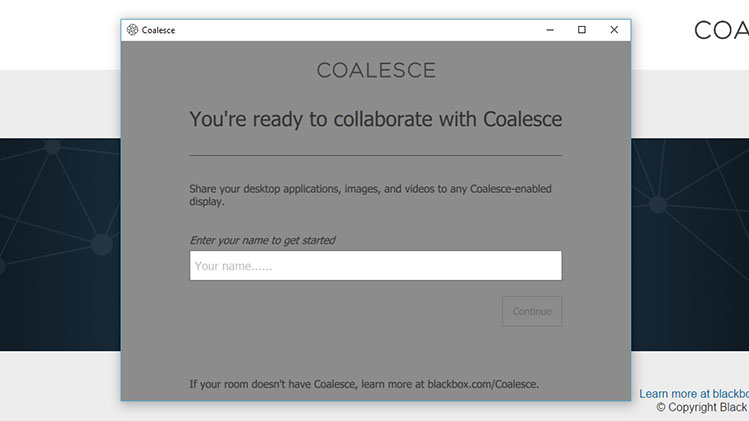
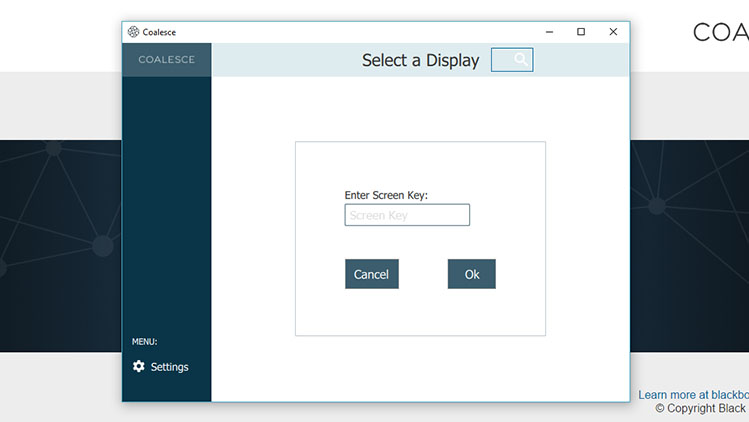
- Enter the Screen Key as displayed on the plasma screen
- The Screen Key is unique to your session and will automatically regenerate when you have disconnected
- Click OK
- Choose what you want to share!
- Click Share Desktop to display your device
- Click Share Window to display an application
- Click Share File to display a file such as an image
- Up to 4 devices can display simultaneously, the screen will resize dynamically
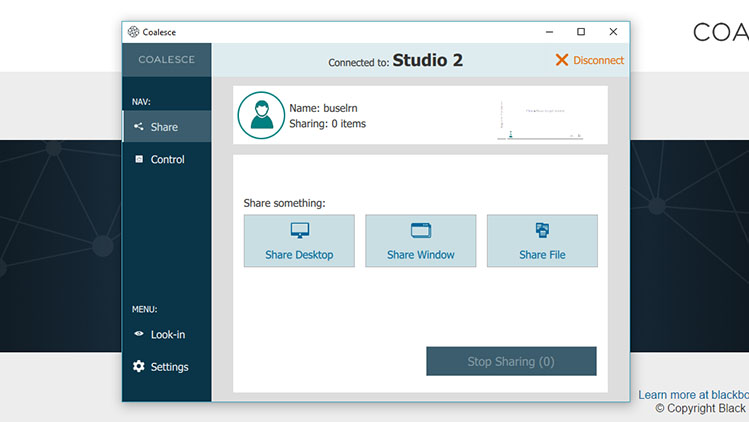
- To end the session simply click Stop Sharing and then Disconnect
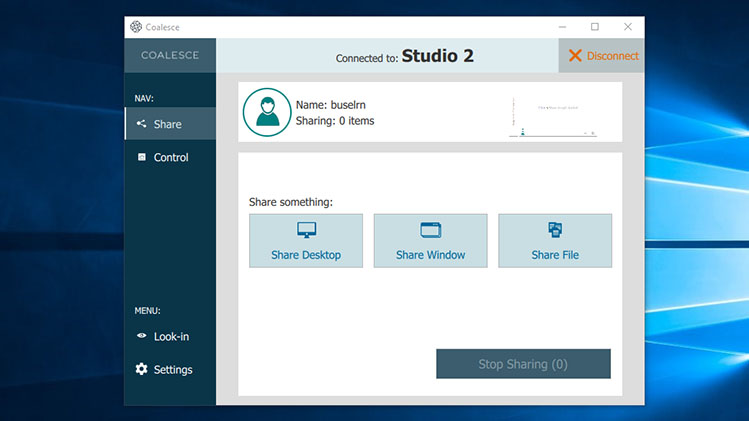
- When connecting in future, launch the coalesce app from the desktop and select recently configured Studios
- The application will remember visited Studios making it quick and easy to connect
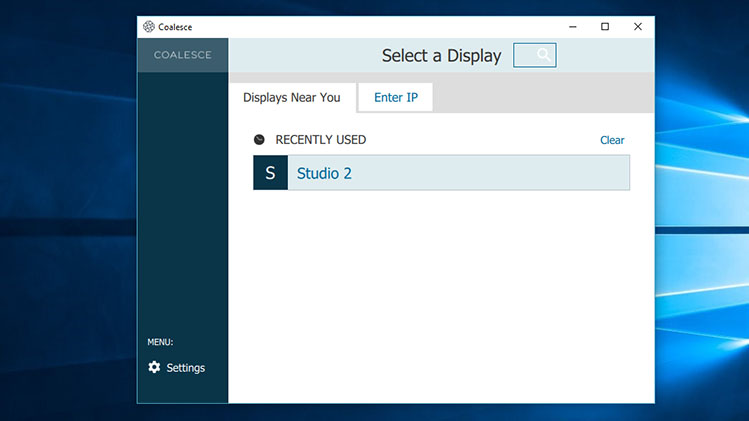
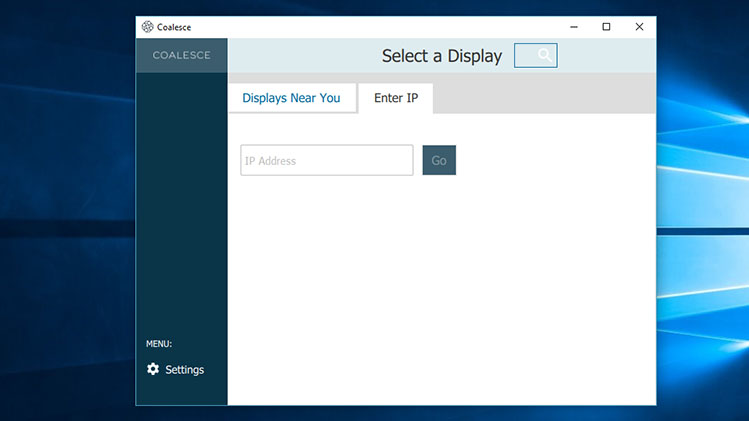
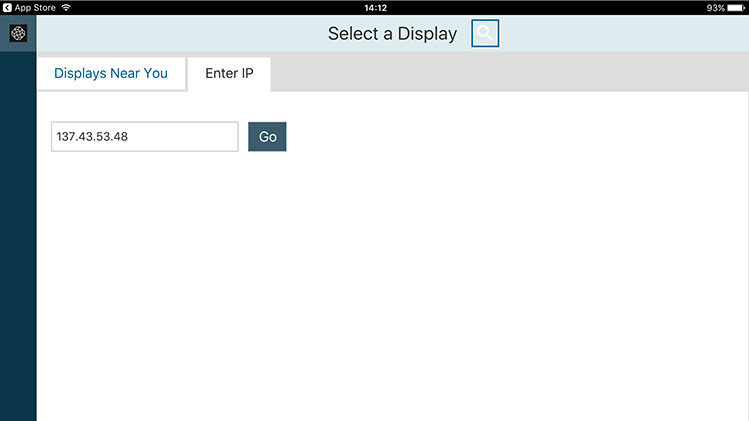
- To get started in a new Studio, simply launch the desktop Coalesce app, select the Enter IP tab and enter the IP address that you see displayed on the new Studio screen.
- The IP address is the numbers displayed on the welcome screen, in this example 137.43.53.29
- Click GO
Connecting Using a Mobile Device
Connecting Using a Mobile Device
- If you are using your mobile device, go to the App or Play store and search for Coalesce client
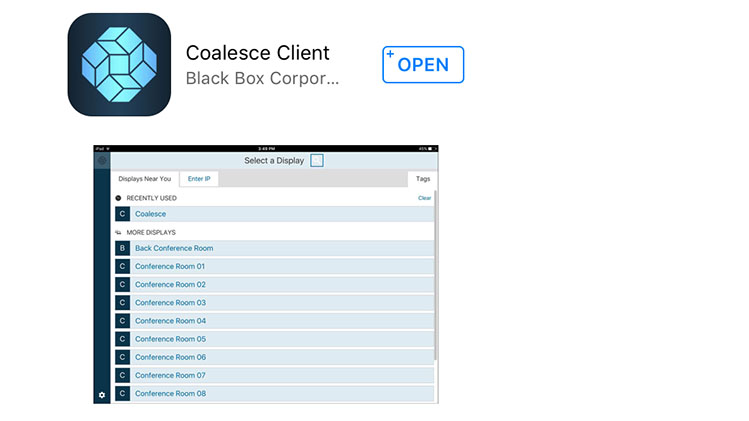
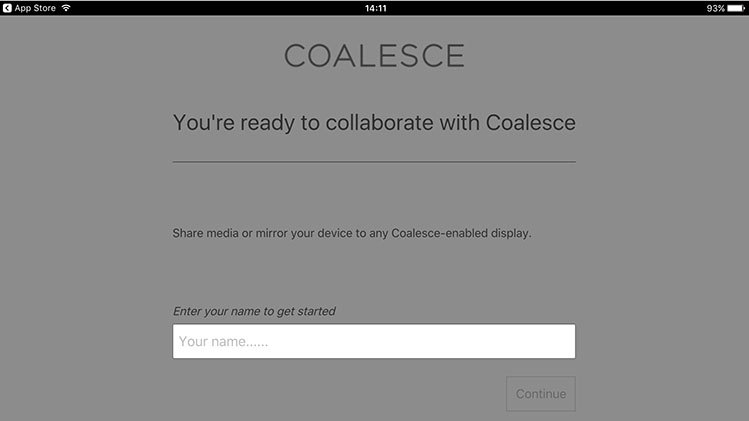
- Install and open the app & enter you name when prompted
- If it’s your first time to use the app enter the IP address for the room – you’ll see this on the plasma TV screen, it’s a number starting with 137.xx.xx.xx
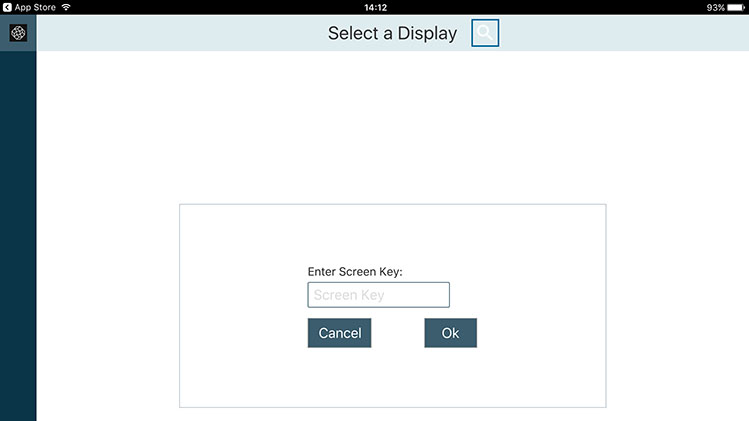
- Enter the screen key as displayed on the plasma screen
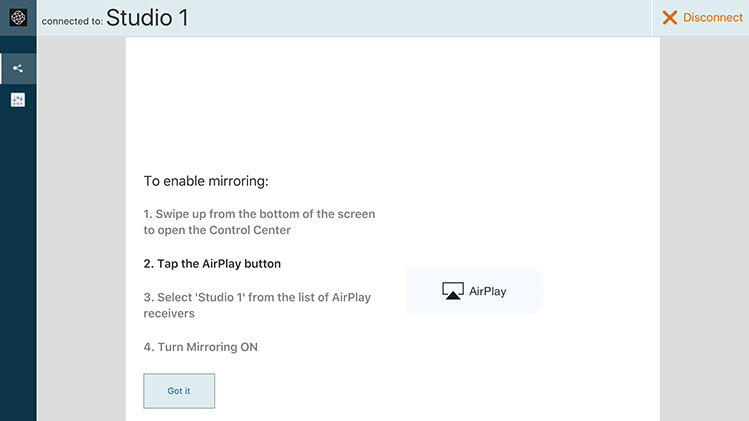
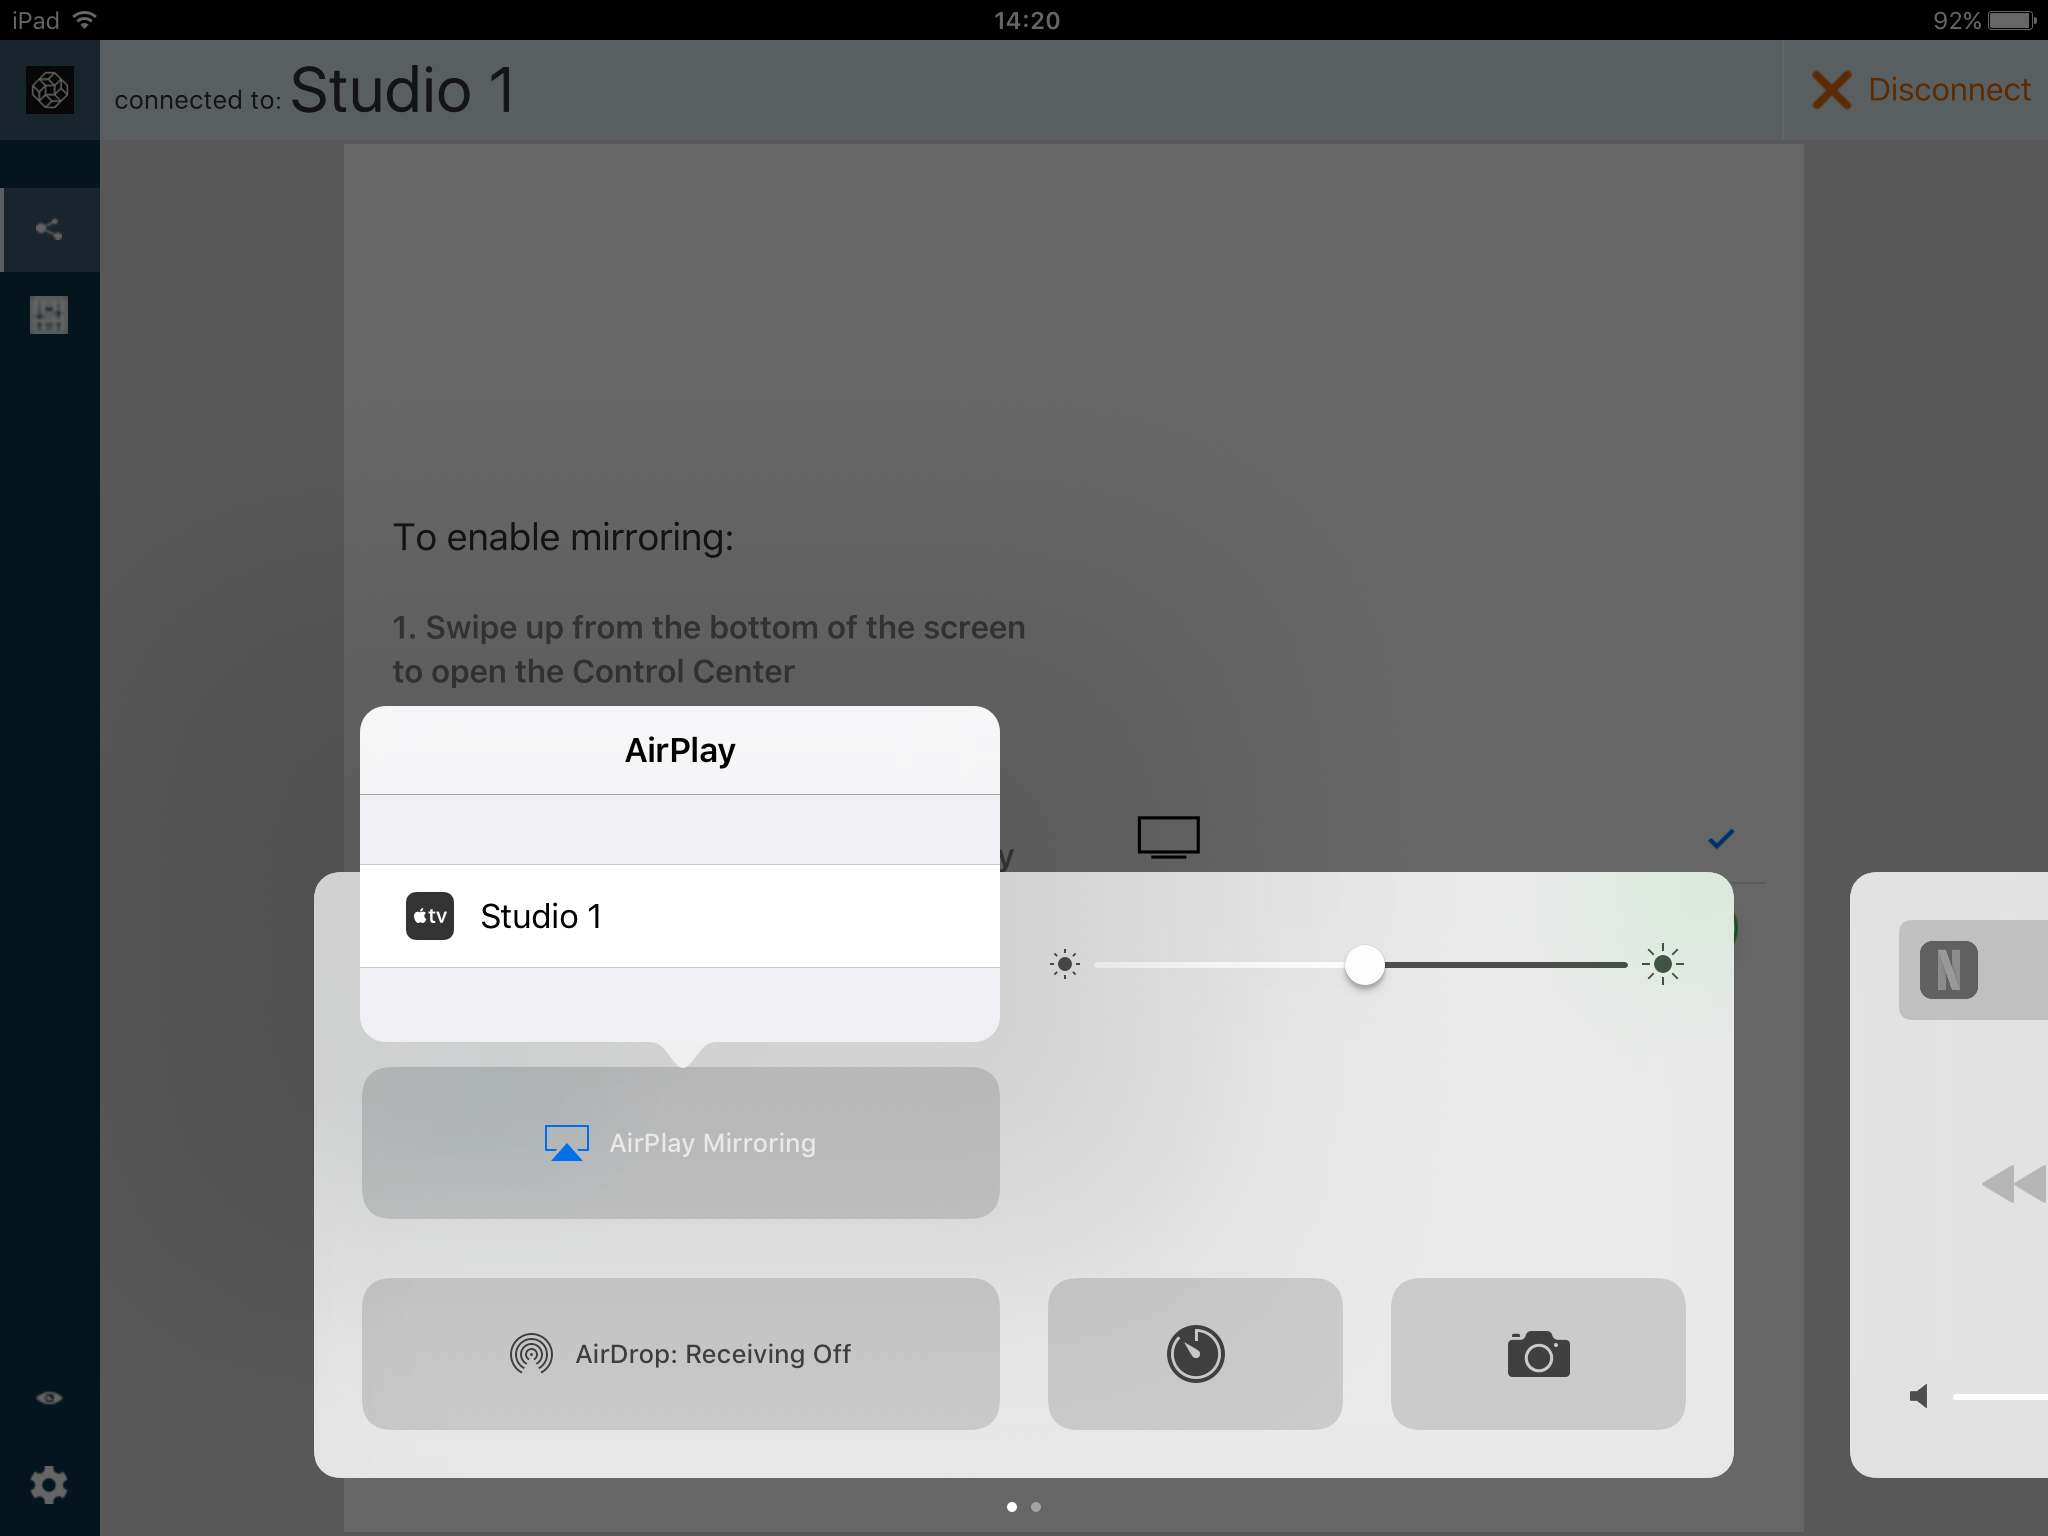
- For iOS users, enable Airplay and mirroring on your device
UROOMS – Studio Booking System
UROOMS – Studio Booking System
As you are aware students must pre-book the studios in the Collaborative Workspace Q106 for group-work activities. The room booking system has now changed to URooms. Follow this procedure to book a studio: Step 1 – Login to InfoHub, select the Campus menu and choose Book a Studio Room in Quinn College of Business. Step 2 – Now enter the Date, Start time and Duration for which you wish to book the room. Fig 1: URooms search tool Step 3 – Once you have searched and you can select the studio and click Book. Step 4 – You should then read the terms and conditions and select the purpose for your booking. Step 5 – You will receive an email to confirm your booking. Note: as per the previous system, bookings can be cancelled if the rooms are required for college bookings.


[…] Guide here […]